Getting your game up onto steam is very exciting! It’s one of my favorite experiences in game development so far. The process to get onto Steam is long but luckily it is fairly simple.
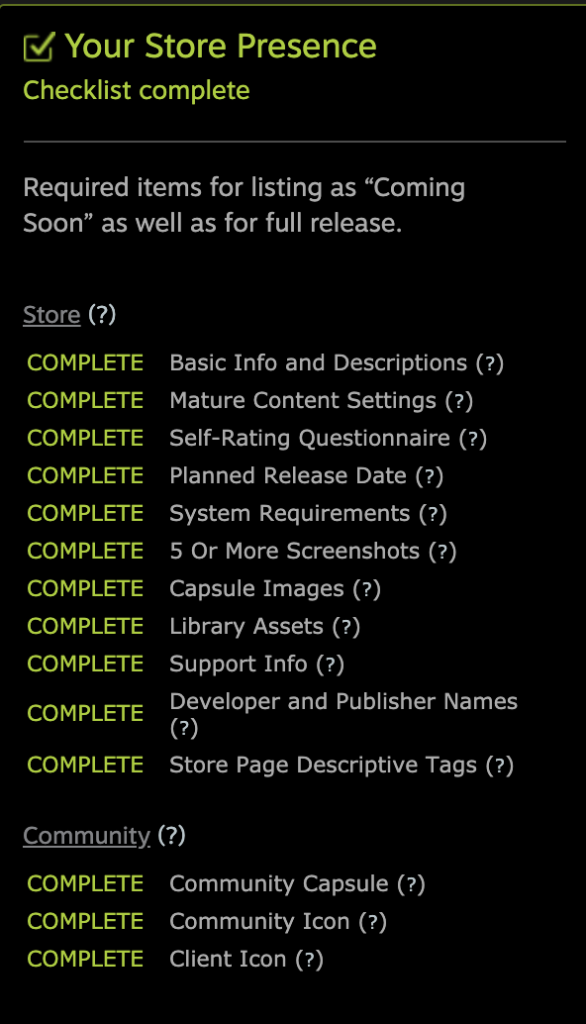
The first thing you need to do is get a business bank account set up so you can apply to get Steam. Once you have approval and pay the registration fee, you can now start working on your store page. One of the great things about preparing your publication is that Valve prepares you with a checklist to make sure you don’t miss a step!

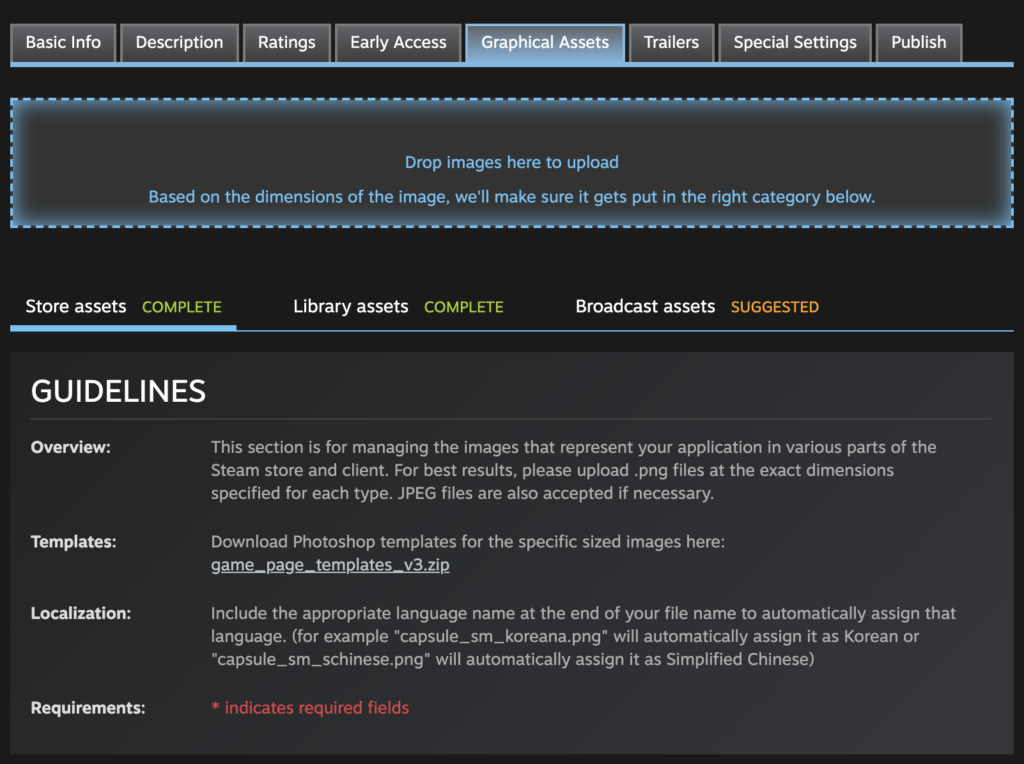
When you navigate to your Edit Store page, click on the Graphical Assets. From here, you can download templates for photoshop as well as upload the finished graphics.

Something important you should be aware of as you create your assets is that your store listing needs to be safe for everyone to view unless you are publishing an adult game. We initially had our store and library assets rejected because our main character Moka showed cleavage and blood. To get around this, we now focus all of our images on Cirno instead.


The first graphical asset you need to submit is the Header Capsule Image. This is a 460×215 pixel image that will be the main showcase of your game. I recommend including eye-catching character art from your game as well as a large and clear game logo.

Next is the small capsule image. Much like the header capsule image, you want to have a very clear logo most of all. We did include Cirno but the highest priority is making sure the text is readable at small resolutions.

Next up is the main capsule image. This is the image that Steam uses if you make it onto the front page! The same advice goes for this image as the large capsule image. There might be an area that displays a sale on the bottom right so be aware of this!

That does it for the main images! We hope this advice has been helpful.
For more information on how we create games, take a look at our retrospective on Cirno’s Perfect Summer Vacation.
